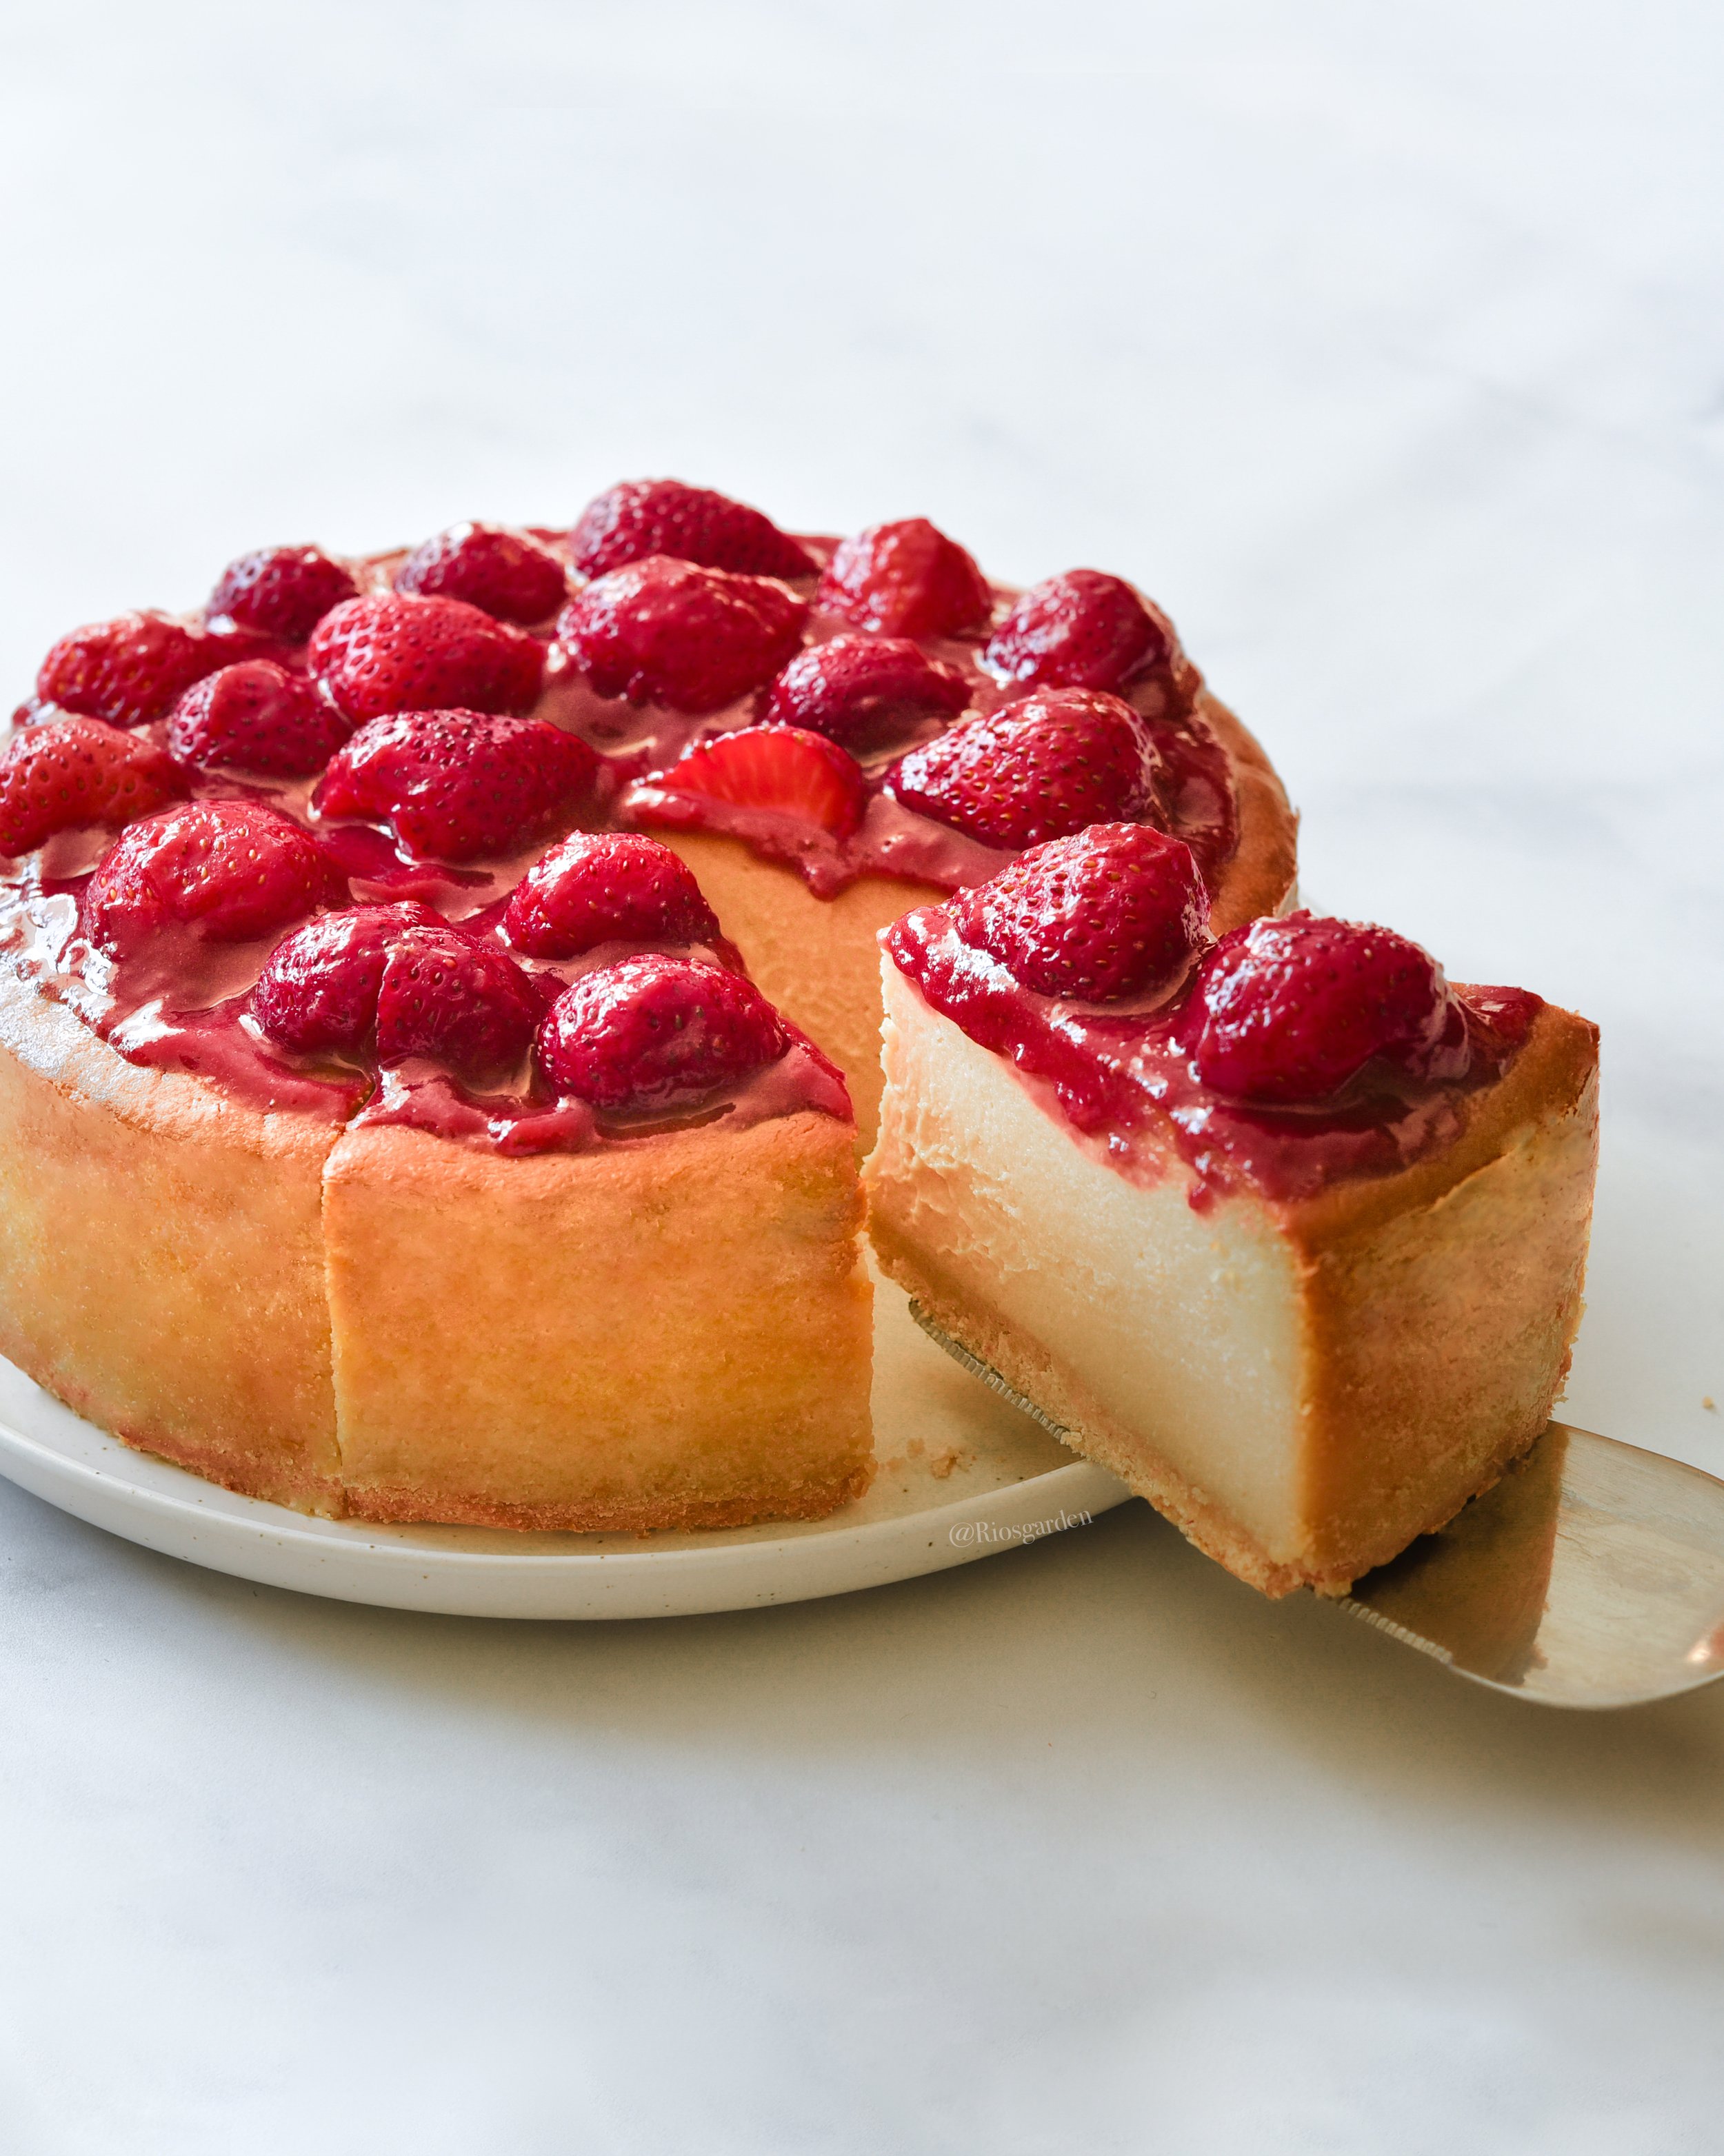
Strawberry Cheesecake

This silky smooth cheesecake takes it over the top with a glossy strawberry sauce topping that drips down with every bite. Once you take a bite of this cheesecake you won’t believe that it’s vegan, gluten-free, oil-free, and made with all-natural ingredients! Not only is this cheesecake creamy and rich, but it’s also light and not heavy at all. Guilt-free cheesecake is a dream come true!


Crust
Vegan・Gluten-free
for 8-inch springform pan
Dry ingredients
2.8 oz (80g) gf oat flour
1.4 oz (40g) almond flour
0.7 oz (20g) cornstarch
less than 1/4 tsp kosher salt
2 tbsp cane sugar
Wet ingredients
2 tbsp coconut oil
1 tbsp applesauce
2 tbsp maple syrup
2 tsp oat milk
Instructions
Mix the dry ingredients in a bowl.
Next, add the wet ingredients and mix with a spatula.
Add the mixture to a lined springform pan and compress into a layer around 0.4 inch (1 cm) in height
Add holes to the base with a fork and bake at 350°F for about 13 minutes.
Remove from the oven and place on a cooling rack.
Cheesecake
Vegan・Gluten-free · Oil-free
for 8-inch springform pan
Ingredients
15.8 oz (450g) raw unroasted and unsalted cashews (soaked and drained)
3.5 oz (100g) coconut yogurt
6tbsp (84g) white miso
3 tbsp rum
7 oz (200g) no guar coconut cream (chilled overnight - disregard the liquid and use the solidified cream)
5.3 oz (150g) cane sugar
8 oz (230g) medium-firm tofu - 3/4 package pressed and drained
1 tbsp (15g)lemon juice
1 tbsp vanilla extract
2 tbsp cornstarch
Preparation
Soak the cashews in water for 6 hours and drain.
Instructions
Place all ingredients except cornstarch into a high-speed blender and blend until smooth.
Transfer to a bowl, sift in cornstarch and mix well.
Line the side of the springform pan and pour in the cheesecake filling.
Lift the pan to about 5 inches off the counter and drop straight down about 3 times to release any air bubbles.
Bake (Water bath)
Cover the bottom and sides of the springform base with aluminum foil.
Fill a larger baking pan with about an inch of water and place the springform pan in the center
Bake at 320°F for 50 minutes, remove from the water bath, and bake at 350°F for another 40 minutes.
Remove from the oven and pierce the center with a wooden skewer to make sure nothing sticks to the skewer.
Let cool and refrigerate.
Strawberry Sauce
Vegan, Gluten-free, Oil-free, Soy-free, Nut-free
Ingredients
13.4 oz (380g) fresh strawberries (stems removed)
2.8 oz (80g) cane sugar
1 tbsp (15g) lemon juice
10 strawberries halved (for decoration)
Instructions
Sprinkle the strawberries with cane sugar and lemon juice and let it sit for 30 minutes until the juices come out of the strawberries.
Stir and simmer over medium heat until the sauce starts to thicken.
Transfer to a high-speed blender and blend until smooth.
Coat the top of the cheesecake with the strawberry sauce and garnish with the halved strawberries.
Pour the remaining sauce over the strawberries and serve.
ストロベリー・チーズケーキ
Vegan・Gluten-free・Oil-free
美味しさはもちろん、おやつからも栄養を摂りたい、添加物は入れたくない、そんな方に送りたい、《ヘルシーで美味しい✨》を叶えるベイクドチーズケーキができました。
焼き時間は長くかかりますが、味はお墨付き。作って後悔させませんよ💛😊
クラスト
Vegan・Gluten-free
ドライ
gfオーツフラワー ... 80g
アーモンドフラワー ... 40g
コーンスターチ ... 20g
自然塩 ... 小さじ1/4弱
きび糖 ... 大さじ2
ウェット
ココナッツオイル ... 大さじ2
アップルソース ... 大さじ1
メープルシロップ ... 大さじ2
オーツミルク(バリスタ又はフルファット)... 小さじ2
作り方
先に《ドライ》材料をボウルで混ぜる。
次に《ウェット》材料を加え、スパチュラで混ぜて、全体に水分が回ったら、手を使いよく混ぜ合わせる。
ベーキングシートを敷いた型に、好みの高さになるよう敷き詰めます。(余った生地は、クッキーの形にして焼いても👌)
180°Cで13分ベイクする。
冷ましたら出来上がり。
チーズケーキ
Vegan・Gluten-free・Oil-free
カシューナッツ ... 450g
ココナッツヨーグルト ... 100g
白味噌 ... 大さじ6(84g)
ラム酒 ... 大さじ3
ココナッツクリーム ... 200g
・グァーガムなしのものを使う。
・缶ごと冷蔵庫で一晩冷やします。
・よく冷えると水分と脂肪分が分離するので、水分は捨て、脂肪分だけをお使いください。
きび糖 ... 150g
よく水切りした木綿豆腐 ... 3/4丁(230g)
レモン果汁 ... 大さじ1(15g)
コーンスターチ ... 大さじ2
バニラエクストラクト ... 大さじ1
下準備
カシューナッツは、6時間浸水させて水を切る。
作り方
コーンスターチ以外の材料を全てブレンダーに入れて、撹拌する。
ボウルに移し、コーンスターチをふるって、よく混ぜる。
クラストを焼く。(※クラストの作り方を参照)
焼き上がったら、冷まします。
型の内側にぐるっとベーキングシートをつけます。(薄く油を塗ると、しっかりつきます)
クラストの上に⑶のバッター液を流し入れて、10cmぐらいの高さから3回ぐらいまっすぐ落とし、空気を抜きます。
160°Cで50分湯煎焼きし、湯煎から外し、350℉(180℃)で更に40分焼きます。
表面にきれいな焼き色がつき、竹串で中心部を刺してみても何もついてこなくなれば、焼き上がりです。
粗熱を取って、冷蔵庫で冷やします。
・
焼き上がり初日も美味しいですが、2〜3日目で最高の味になります。
保存は冷蔵庫で、5日以内に召し上がって下さい。(冷凍はできません)
苺ソース
Vegan・Gluten-free・Oil-free・Soy-free・Nut-free
熟した苺 ... 400g(ヘタを取ったら380g量)
きび糖 ... 80g
レモン果汁 ... 大さじ1(15g)
飾り用の苺 ... 10粒程度(ソースに使う分と別に)
作り方
ヘタを取ったソース用の苺にきび糖とレモンをかけて一混ぜし、水分が出るまで(30分)置いておく。
軽くとろみがつくまで煮る。
ブレンダーで撹拌して、ソースは完成です。
盛り付け
飾り用の苺は、半分にスライスする。
チーズケーキの上に、飾り用の苺を並べて、上から苺ソースをかける。